
Garage door sensors are your first line of defense against accidents and mishaps. Imagine opening your garage door only to have it stop abruptly because something is in the way. It’s frustrating and potentially dangerous. That’s where you need sensors.
Whether you want to replace old sensors or install new ones, the process can be straightforward with some guidance. We’ll show you how they work and explore the tools you’ll need. Check out how to install garage door sensors and what to do if you get stuck.
How Do Garage Sensors Work?
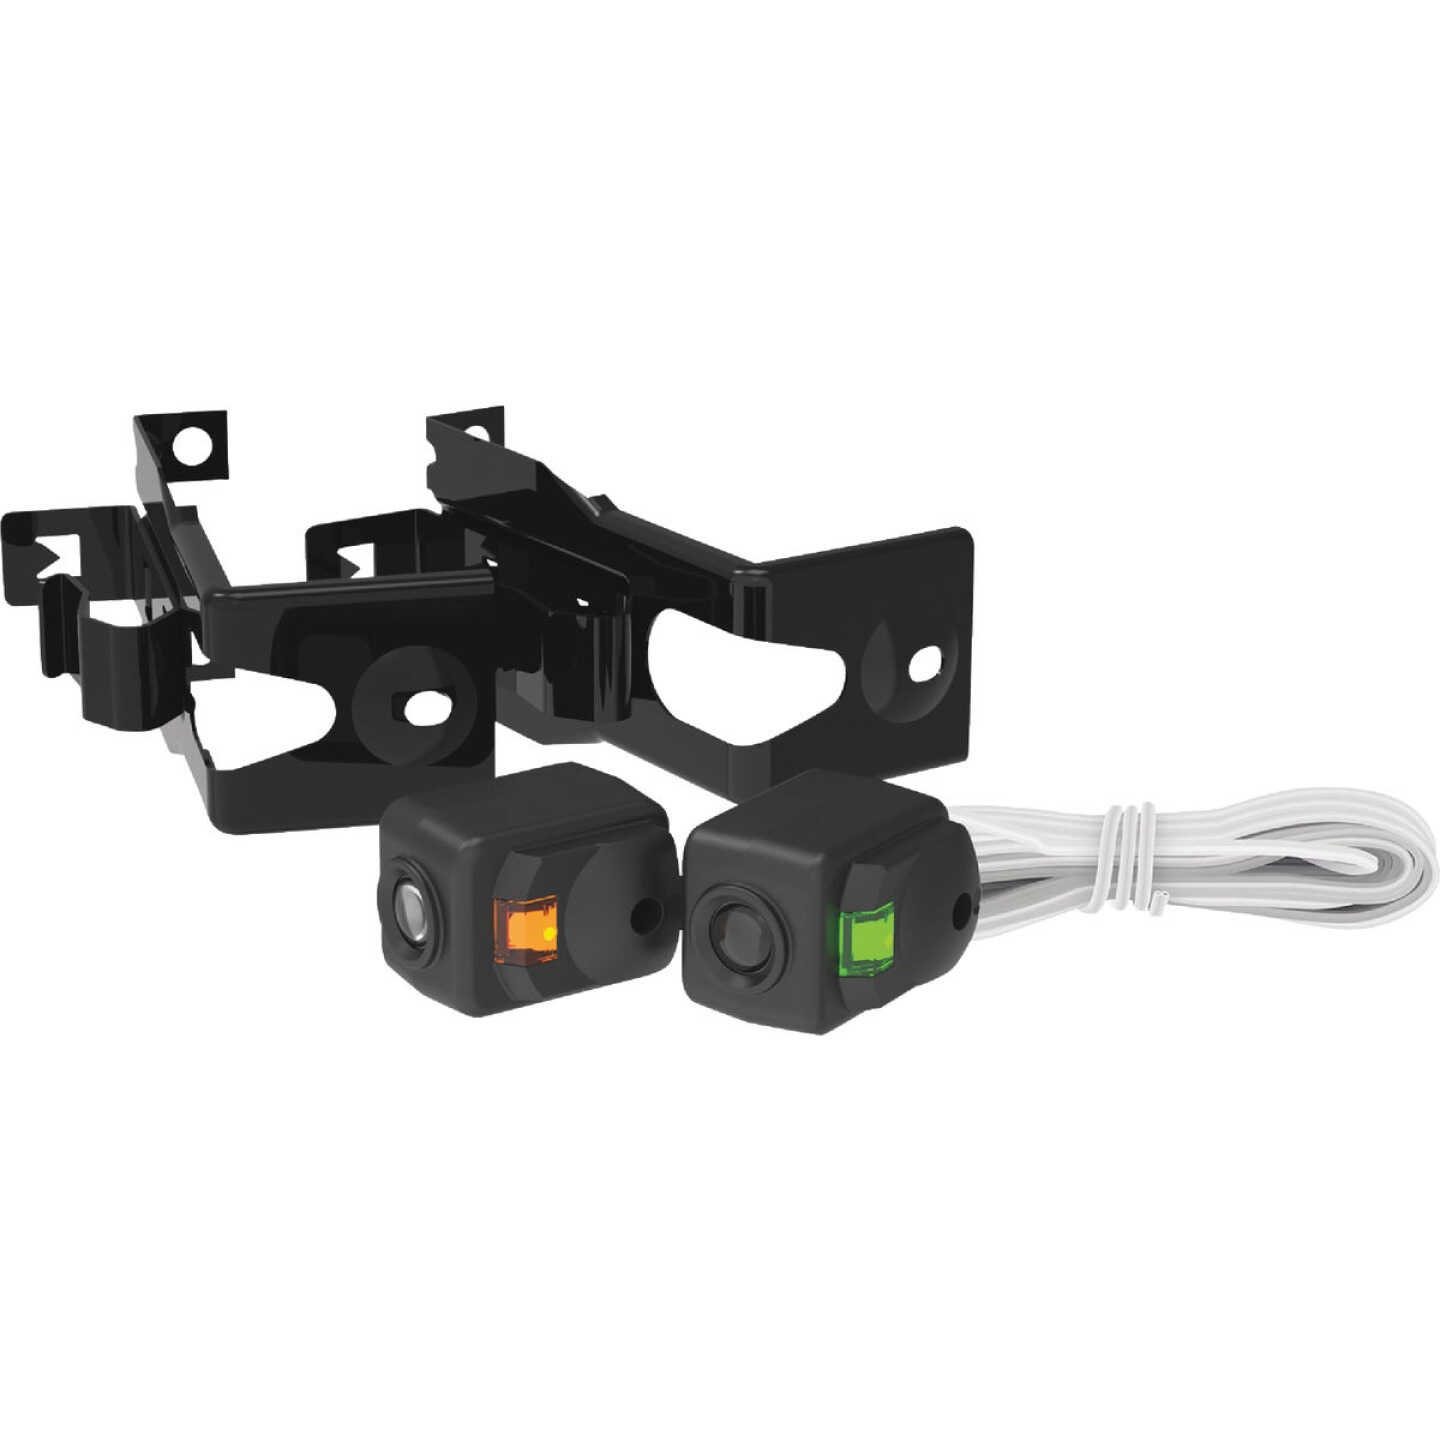
Garage door sensors operate on a simple yet effective principle. They usually consist of two main components: the sending unit and the receiving unit. The sending unit emits an infrared beam toward the receiver.
If anything interrupts this beam while the garage is closing, it triggers an immediate response. The system detects the interruption and sends a signal to stop or reverse the door’s movement. This prevents potential accidents and injuries.
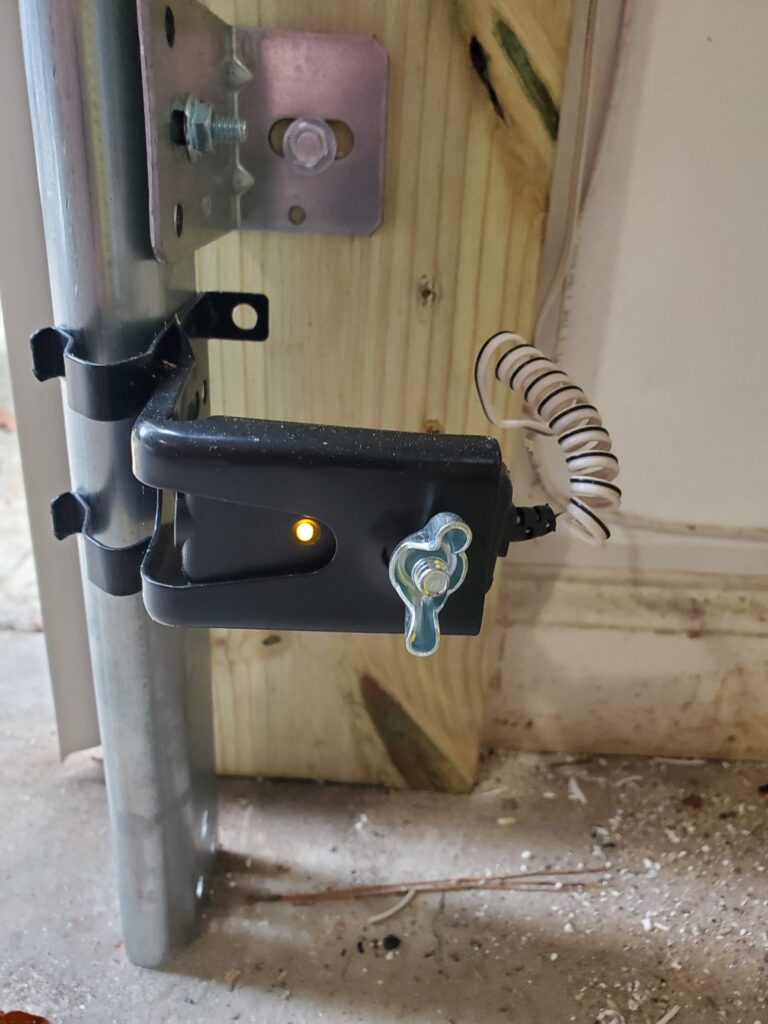
Safety sensors are typically mounted about six inches off the ground on each side of your garage door frame. This placement ensures they can accurately detect anything in their path without being obstructed by debris or dirt over time.
Most modern systems also feature LED indicators that show whether they’re functioning properly. If both lights are illuminated consistently, you’re good to go. If not, it might be time for some troubleshooting or replacement.
Tools You’ll Need
Before you start with the garage door sensor installation, you need to gather a few tools. Having everything at hand makes the process smoother. You’ll need:
- Ladder;
- Screwdriver;
- Drill;
- Level;
- Wire strippers;
- Safety gloves and goggles;
The first thing you’ll need is a screwdriver. A Phillips head is usually best for most models, but you should check your specific sensor requirements beforehand. You’ll also need a level to ensure your sensors are perfectly aligned. This step can prevent miscommunication between the two units.
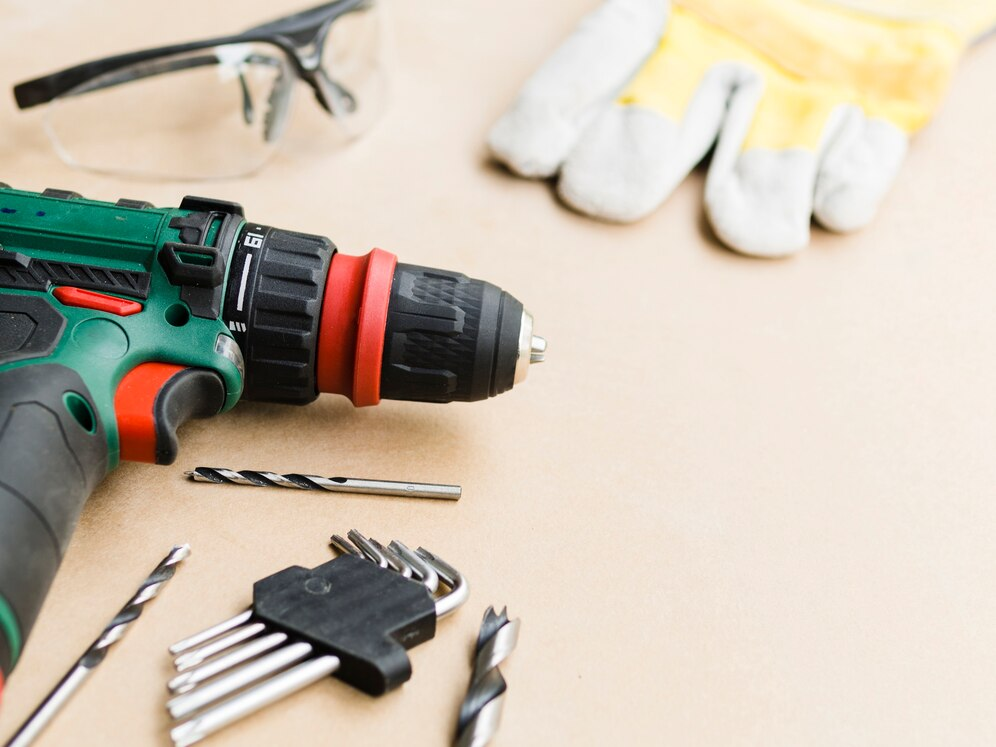
Additionally, you might also need wire strippers if you’re dealing with any wiring issues during installation. These will help you make clean cuts and connections. Finally, don’t forget about safety equipment! You’ll need safety goggles to protect your eyes while working around heavy garage doors.
Bonus tip: keep some zip ties handy to organize the wires neatly after you’re done. With everything ready, you’ll be set for a successful installation of your garage door sensors.
Garage Door Sensor Installation Step-by-Step
First, make sure that the power to your garage door opener is turned off. This way, you can prevent any accidents and injuries.
Next, unpack the new garage door safety sensor and locate its mounting brackets. Typically, they are installed on either side of the garage door, about six inches above ground level.
Use a drill to secure the brackets in place. Ensure they’re straight for optimal performance. Then, attach each sensor snugly into its bracket.
Run low-voltage wiring from one sensor to the other and connect them according to manufacturer instructions. Double-check all connections for security.
Lastly, restore power to your garage door opener and test the sensors by closing the door while standing outside. The sensors should prevent it from closing as there’s an obstruction. If everything works smoothly, you’re done with your task. And if not, you might need some help.
When to Call Garage Door Technicians?
Some tasks around the garage sensors are straightforward, while others may require professional garage door technicians to help. If you struggle with the installation process or if your sensors aren’t functioning correctly after you’ve followed the steps outlined, it might be time to call in a technician.
Complex wiring issues can be risky not just for your garage but also for your safety. If you’re not sure about how to proceed, especially concerning electrical components, or if you’re dealing with older models that don’t match standard installations, call an expert.
Additionally, if the sensors fail repeatedly despite your best efforts, this could indicate deeper mechanical or electrical problems that need specialized tools and expertise. Don’t hesitate to consult professionals who can ensure everything operates smoothly and safely.
Our garage door repair services are available 24/7. Contact us today to schedule regular maintenance or to get a free quote regarding any repairs or installations. We’re here to assist with any issues.